

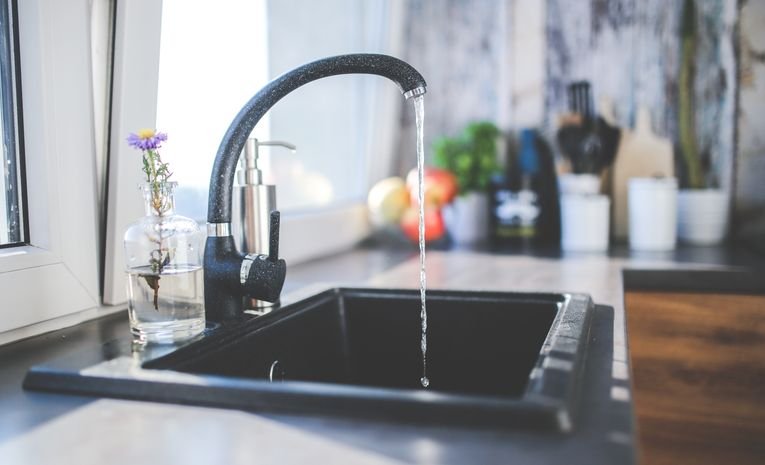
Quick answer: Turn off the water supply, then work out where the drip is actually coming from before dismantling anything. A drip from the spout usually means a worn washer or a cracked ceramic disc cartridge, while a drip from the base often points to a worn O-ring. Replace the relevant part, matching it exactly to your tap model, then reassemble and test.
A dripping tap is easy to ignore, right up until the sound keeps you awake or the water bill arrives. The reassuring news is that fixing one is one of the most manageable plumbing jobs a homeowner can tackle, provided you diagnose the actual cause before reaching for a spanner.
Diagnose Before You Dismantle
Taking a tap apart without knowing what is actually wrong wastes time and risks reassembling it incorrectly. Before you start:
- Dry the spout and surrounding area completely with a cloth.
- Close the tap normally, without forcing the handle.
- Wait a minute or two, then hold a dry piece of tissue beneath the outlet and around the base of the tap.
- Check exactly where water reappears: the spout, the handle, the base, or the pipe connection underneath the sink.
Where the water shows up tells you which part is likely failing and saves you dismantling parts that are not the problem.
What You Will Need
- Adjustable spanner or basin wrench
- Flat-head and cross-head screwdrivers
- Allen keys, for grub screws on some modern handles
- Replacement washer, O-ring, or ceramic cartridge, matched to your tap
- PTFE thread seal tape
- A soft cloth to protect the tap’s finish and plug the plughole
Identify Your Tap Type
The repair depends on which type of tap you have.
Compression Taps
Traditional taps that need several full turns of the handle to open and close. These rely on a compressible rubber washer, which is usually the first thing to check when one of these starts dripping.
Ceramic Disc Taps
Modern taps that only need a quarter turn to open fully. Inside, two ceramic discs rotate against each other to control flow. If one of these is dripping, the cartridge itself is usually cracked, scaled up, or worn, and needs replacing as a complete unit rather than repaired piece by piece.
Mixer Taps
Common in kitchens, these often use a single lever controlling one internal cartridge for both hot and cold water. A dripping mixer tap almost always means that cartridge needs replacing.
Step 1: Turn Off the Water Supply
Look under the sink for an isolation valve on the supply pipes and turn it off with a flat-head screwdriver or by hand, depending on the type. If there is no isolation valve, you will need to turn off the water at the main stopcock instead. Once off, open the tap to release any remaining pressure and water in the pipe before starting work.
Step 2: Fixing a Compression Tap (Washer Replacement)
- Find the screw holding the tap head together, usually hidden under the hot or cold cap. Prise off the cap gently if needed.
- Unscrew and remove the tap head, keeping all the parts in the order you removed them.
- Use an adjustable spanner to unscrew the large hexagonal packing nut, turning anticlockwise.
- Lift out the headgear assembly. At the bottom you will see the rubber washer held by a small retaining nut.
- Unscrew the retaining nut and remove the old washer, taking it with you to match an exact replacement.
- Fit the new washer, replace the retaining nut, and reassemble the tap in reverse order.
- Turn the water supply back on and check for drips at the spout and the base.
Step 3: Fixing a Ceramic Disc Tap (Cartridge Replacement)
- Remove the decorative cap and unscrew the fixing screw underneath to lift off the handle.
- Unscrew the retaining nut or collar holding the cartridge in place.
- Lift out the old cartridge, noting its orientation before removal.
- Fit the new cartridge, matched exactly to your tap’s make and model, in the same orientation.
- Reassemble the handle and cap, then turn the water back on and test.
Ceramic cartridges are not repairable. If one is cracked or worn, the whole unit needs replacing rather than being taken apart further.
Step 4: If the Leak Is Around the Base
A leak specifically around the base of the tap, rather than the spout itself, often points to a worn O-ring or a loosened fitting rather than the main valve or cartridge. Dry the area fully, remove the tap head to expose the O-ring, and replace it if it looks cracked, flattened, or damaged. A small amount of silicone lubricant on the new O-ring can help it seat properly.
Why Is My Tap Still Dripping After Replacing the Washer?
If the drip continues after a washer change, a few things are worth checking. Make sure the replacement washer is an exact match in size, since even a small difference stops it sealing properly. Check that the tap seat, the surface the washer presses against, is not scored or damaged, since a worn seat will keep leaking regardless of the washer’s condition. If the tap is a ceramic disc design rather than a traditional washer type, replacing a washer will not fix it at all, since the fault lies in the cartridge instead.
Why Bother Fixing a Small Drip?
A steady drip wastes water continuously, and the cost adds up over months even though each individual drop seems trivial. Beyond the water bill, a persistent drip can also leave limescale staining around the tap and, in a worst case, contribute to damp or water damage if it runs down into a cabinet or nearby electrics.
When to Call a Plumber
Most dripping taps are a manageable DIY repair, but call a plumber if the tap seat is damaged and needs recutting, if the fitting has seized and risks shearing when forced, or if you are dealing with an unfamiliar tap design and cannot confidently identify the correct replacement part.
Related Guides
Frequently Asked Questions
Why is my tap still dripping after replacing the washer?
The replacement washer may not be an exact size match, the tap seat underneath may be damaged, or the tap could be a ceramic disc design where a cartridge, not a washer, needs replacing.
How do I know if my tap has a washer or cartridge?
If the tap needs several full turns to open and close, it almost certainly has a washer. If it opens fully with a quarter turn, it uses a ceramic disc cartridge instead.
How much water does a dripping tap waste?
Even a slow, steady drip adds up to a noticeable amount of wasted water and cost over the course of a year, which is one of the main reasons it is worth fixing promptly rather than leaving it.
Can I fix a dripping tap without turning off the water?
No. Always turn off the water supply at the isolation valve or main stopcock first, both for safety and to avoid a soaked kitchen or bathroom while you work.
Final Thoughts
Fixing a dripping tap comes down to identifying where the leak is actually coming from and matching the right replacement part to your specific tap type. Whether it is a simple washer swap or a full cartridge replacement, most homeowners can manage the job in under an hour with basic tools.